- Download the 0.7.6 SDK (if you're a Leap developer you know how to get it)
- move the developer kit tarball to a convenient temp directory
- tar xvzf Leap_Developer_Kit_0.7.6_3012_Linux.tar.gz this will extract the debian packages- for gentoo we can convert to tarball in the next step using alien.
- alien -t Leap-0.7.6-x64.deb Note: if you're on a 32-bit system use Leap-0.7.6-x86.deb
- tar xvzf leap-0.7.6.tgz
- the previous step extracted usr and etc directories so now we copy the files from these directories into place:
sudo cp -ir usr/local/* /usr/local/
Note that I use -i flag to avoid accidentally overwriting existing files. I wound up just copying all the files into place rather than just the leap-specific ones because the Leap installer has bundled versions of QT libraries and trying to use my system QT libraries was causing a segfault. sudo cp -ir etc/udev/rules.d/* /etc/udev/rules.d/
Copying those udev rules should in theory allow you to run the Leap application without superuser privileges, but that did not work for me- I will try to figure this out later.
I'm not sure if these next 3 steps are necessary on gentoo, but just in case- they create the plugdev group if it does not exist, add you to that group, and then reload your session so your group membership is updated without having to logout/login.
groupadd plugdevsudo usermod -a -G plugdev $USERexec su-l $USER#refresh group membershipsudo Leap-
Visualizer
Test the cool new gesture features with the visualizer by running the Visualizer command and pressing the letter 'o' to enable drawing gestures. In this screenshot I have traced out a counter-clockwise circle with my finger- which is one of the supported gestures so it is drawn as light blue circular arrow. You can do multi-finger swipes, taps, and circles. See this part of the documentation for more details:
Assuming that /usr/local/bin/ is in your path- you should just be able to run the Leap command in your shell. You need the Leap application running in the background for any other interactions with the leap device to work. Notice that I had to run the command as root even though I copied in the udev rules. In my case, running LeapPipeline(ostensibly the command line alternative to Leap) without root privileges will give an error like:
[00:54:08] [Critical] [EC_NO_DEVICE] Please make sure your Leap device is plugged in.
Running LeapPipeline with root privileges does not give me any error message, just some debug output and then it quits without doing anything. Running Leap without without root privileges in my case will not give any error messages- everything will simply fail silently, i.e. if you run the visualizer you will get no tracking data.
Play with the samples
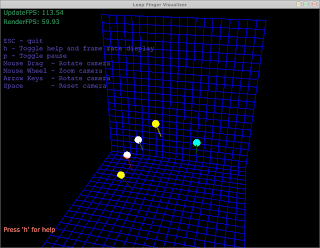
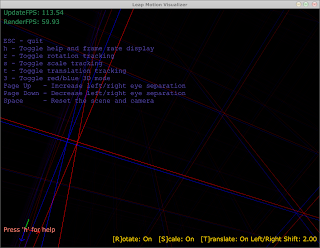
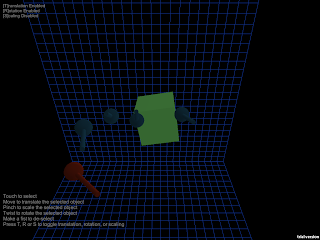
At the top level of the directory where you unpacked Leap_Developer_Kit_0.7.6_3012_Linux.tar.gz you will see an examples directory. Here is what they look like.FingerVisualizer

MotionVisualizer

UnitySandbox

Some caveats
At some point a .Leap Motion directory needs to be created in your home directory (note the space between the two words and the leading "."). I'm not sure if this is done by the installer or by the first run of the Leap application. In my case I actually copied the contents of the .Leap Motion folder on my ubuntu system to my gentoo system. In particular, there should be two files in this folder a leapid file and a file that is named something like DEV-12345 (yours will be different). The Leap application is actually a GUI app which resides in your dock/panel, if you use one, but it's not necessary- Leap will run without a panel. I've confirmed that it works with xfce4-panel if you want to see it, but you can access almost all the executables directly from the commandline anyway:- /usr/local/bin/Visualizer
- /usr/local/bin/ScreenLocator
- /usr/local/bin/Recalibrate
- /usr/local/bin/LeapPipeline
- /usr/local/bin/Leap